Each IP in a range or CIDR will be considered as a separate target
You can’t add IP ranges or subnet masks as input for our scanners. In order to scan an IP range, you’ll need to add the IP range directly from the /targets tab by clicking the +Add button.
You can either add an IP range (192.168.1.50-100) or a CIDR, a subnet mask format (192.168.1.0/24). They will be expanded into separate targets.
For example, adding 192.168.1.0/24 will create 254 individual targets.
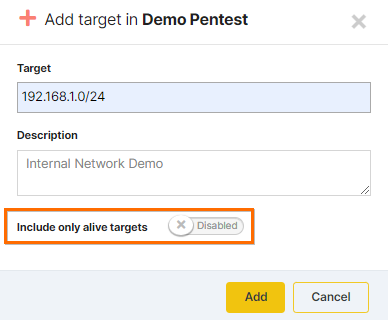
By enabling the Include only alive targets option, our check-alive mechanism will perform a customized version of Nmap's host discovery functionality. The mechanism works by sending different types of packets called probes. The goal of these probes is to solicit responses that demonstrate if an IP address is actually active (is being used by a host or network device). You can read the full details in our dedicated article.
After adding the targets, you can bulk select all the IPs in the range using the search box and the general Target checkbox on the header row, or just some of the IPs by individually selecting them.
You can then run scans by selecting options from a scan with tool, scan with template, or scan with robot menus.
If you're scanning with a vulnerability scanner, such as the Network Scanner, you can view the scan results in the /findings tab and display as many as 250 records on the page.
Please note that reconnaissance tools, such as TCP / UDP Port scanners do not generate findings. You can see a centralized status of these scan results on the Attack Surface View.
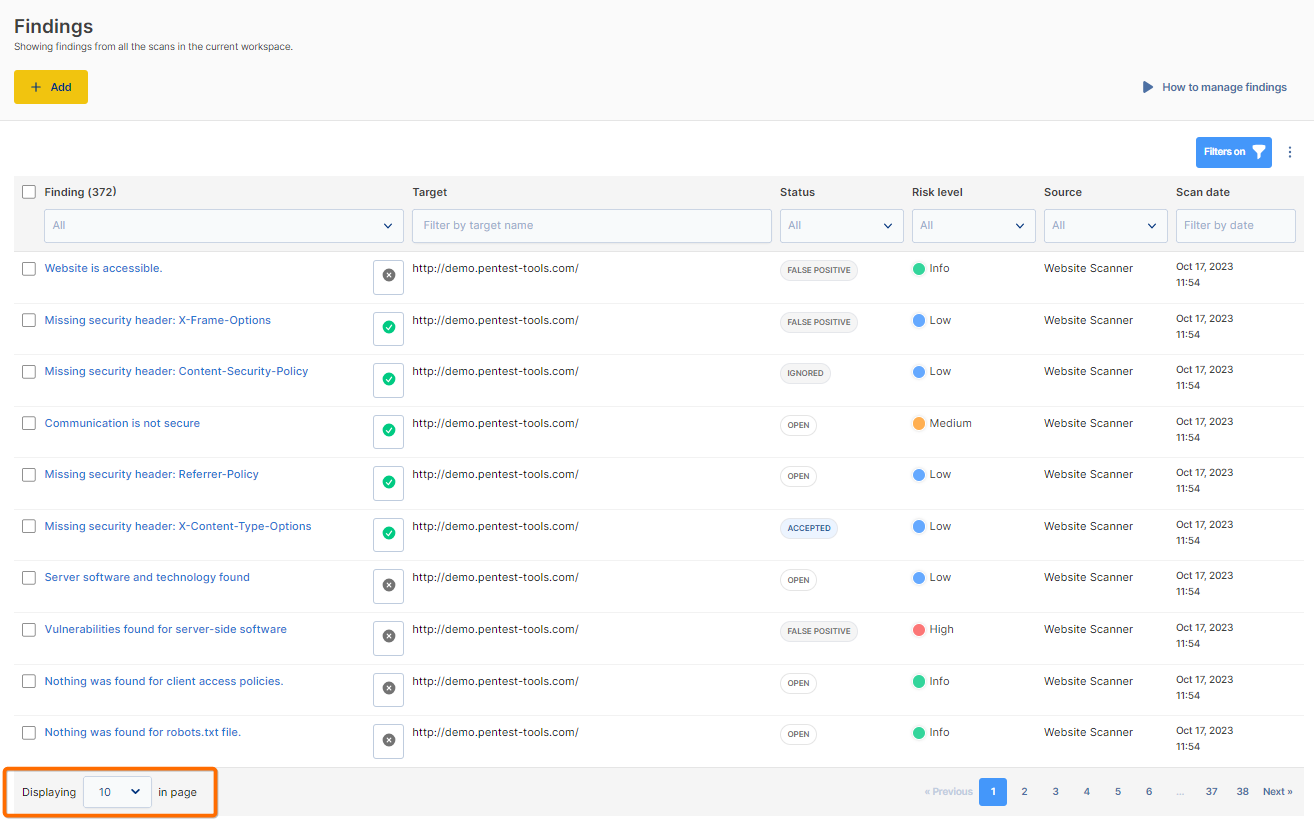
In order to generate a report, you can use the filters to narrow down the findings according to target, scan date, which tool was used (source), etc., and then click Generate Report.
Read more details in the Reporting category.
This video shows how to add an IP range as a target in Pentest-Tools.com and how to scan this range for open ports, services, and operating systems. You will see how all scan results are aggregated into the Attack Surface view.